Upscale TIFF designs with AI, free
Drop a TIFF straight from Photoshop, including LZW compressed, CMYK and 16-bit files. The AI enlarges it 4x or 8x and you download a PNG tagged 300 DPI.
Opening your design…
Your design is already large
Create a free account to upscale
It takes a minute: just your name and email, then one WhatsApp message. Upscaling stays free.
Your design waits here and starts upscaling as soon as you are signed in.
Your sharper design is ready
Free and Pro, zoomed in
See what Pro adds
Real Pro results on textile designs. Drag the line: on the left the low-resolution file, on the right the same spot after Pro.
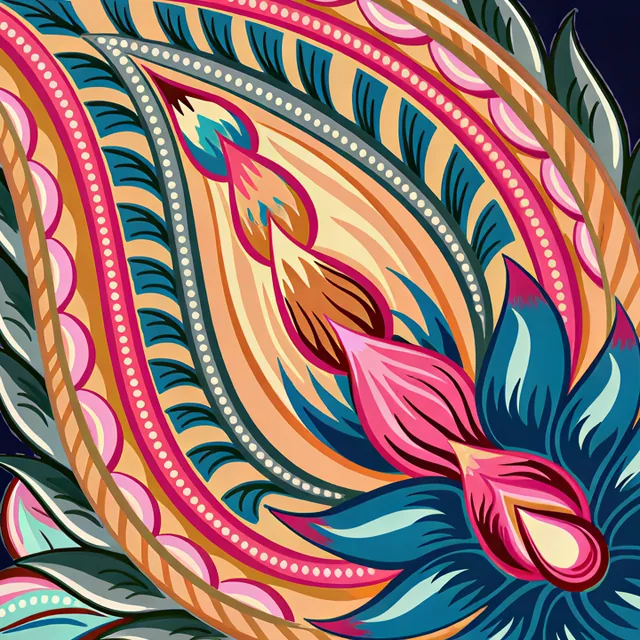
 Low-res filePro
Paisley: dots, ropes and outlines stay crisp
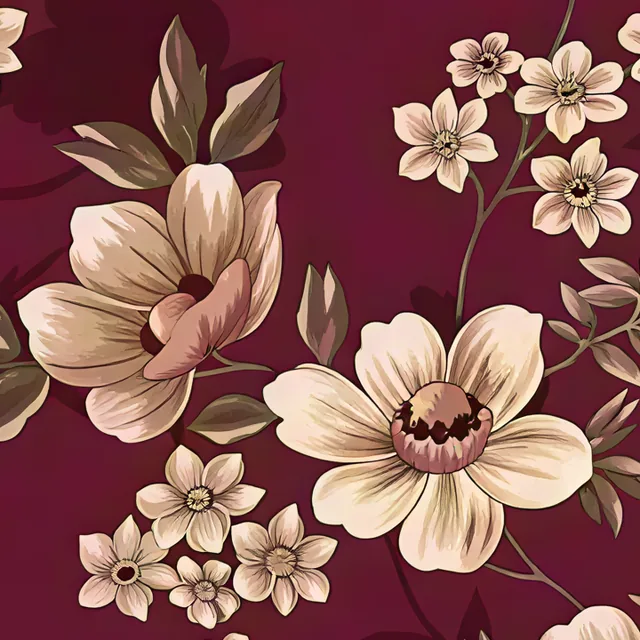
 Low-res filePro
Small florals: clean edges on every bloom
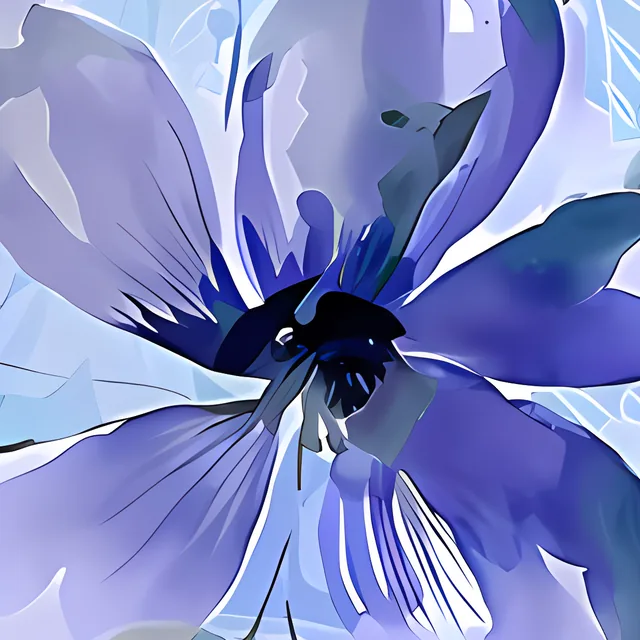
 Low-res filePro
Watercolour floral: petal veins come back sharp
Pro makes 4×, 8× and 16× with finer detail and uses credits. Make a free result first, then choose Pro.
- Drop your TIFF, or a PSD if it has spot channels.
- Pick 4x or 8x and tap Run Upscaler.
- Download the PNG at 300 DPI, or re-save it as TIFF for your printer.
TIFF files you can upload
Most TIFFs saved from Photoshop, CorelDRAW or a scanner open without any change. If your TIFF has spot channels, save it as a PSD first.
What you get back: a PNG at 300 DPI
The result is a PNG tagged 300 DPI. PNG keeps every pixel, so nothing is lost in the download, and it opens in Photoshop, CorelDRAW and any RIP software that takes PNG.
PNG files are always RGB. If your TIFF was CMYK, the colours in the result are RGB, so convert back with the colour profile your printer gives you and check a strike-off before bulk printing.
If your printer only takes TIFF, re-save the PNG in Photoshop or a similar program, such as GIMP, which is free:
- Open the PNG.
- If your printer works in CMYK, choose Image > Mode > CMYK Color.
- Choose File > Save As and pick TIFF.
- Under Image Compression, pick LZW. It makes the file smaller without losing any detail.
- Check Image > Image Size. The resolution should still say 300.
PSD and multichannel files
If your design has spot channels, upload the PSD or PSB file. Multichannel PSDs work too. Each spot channel is shown in its own ink colour, the way Photoshop previews it, and the result is one flat colour image.
The channels do not stay separate in the result. For screen or rotary printing you will need to separate the enlarged design again. Channel Separation, which does that step, is coming soon and you can join the waitlist.
Tips for large TIFF files
Free enlargement goes up to about 36 megapixels of output. That means 4x for designs up to about 1500 x 1500 px and 8x for designs up to about 750 x 750 px. A larger TIFF can be saved tagged 300 DPI as it is, and 16x is coming soon in Pro.
Before you enlarge, check whether you need to. A TIFF 4000 px wide prints 13.3 inches wide at 300 DPI and 26.7 inches at 150 DPI, which is often enough for fabric. The Fabric DPI calculator shows this for your own file.
- For an allover print, enlarge one repeat and set the repeat afterwards in Photoshop or your RIP. A smaller file is quicker and stays inside the free limit.
- Expect big files. A 6000 x 6000 px RGB image is about 108 MB without compression (6000 x 6000 pixels x 3 bytes). Saving with LZW usually makes a design file much smaller, and flat colours shrink the most.
- When you send the result on WhatsApp, send it as a Document. Sent as a photo, it gets compressed and loses detail.
| TIFF type | Accepted | What to know |
|---|---|---|
| Uncompressed | Yes | Largest files, but they open the same way. |
| LZW, ZIP, PackBits or JPEG compressed | Yes | Photoshop's usual LZW option works as it is. |
| RGB | Yes | Colours stay as they are. |
| CMYK | Yes | The result is RGB. Convert back with your printer's profile if needed. |
| Greyscale | Yes | The result is a colour PNG that looks the same. |
| 16 bits per channel | Yes | The result is a standard 8-bit PNG. |
| Several pages in one file | Yes | The largest image in the file is used. |
| Spot channels | Use PSD | Save as PSD or PSB so the spot channels show in their ink colours. |
Enlarge your TIFF now
Drop your TIFF in the upscaler above, pick 4x or 8x and download a PNG tagged 300 DPI.
Open the Image UpscalerQuestions people ask
Can I upscale a TIFF without Photoshop?
Yes. Drop the TIFF into the upscaler on this page, pick 4x or 8x and download the result. You only need Photoshop or a similar program if your printer wants the result back as a TIFF.
Why is the result a PNG and not a TIFF?
PNG keeps every pixel like an LZW TIFF does, and it opens almost everywhere. If your printer asks for TIFF, open the PNG and save it as TIFF with LZW compression.
Will my CMYK colours change?
The result is in RGB, because PNG files are always RGB. Convert it back to CMYK with the profile your printer uses and check a strike-off before you print the full run.
How large a TIFF can I enlarge for free?
Free enlargement goes up to about 36 megapixels of output: about 1500 x 1500 px at 4x, or about 750 x 750 px at 8x. Larger TIFFs can be saved tagged 300 DPI, and 16x is coming soon in Pro.
Do I need an account?
You can try the three samples without one. For your own TIFFs you need a free account: your name, your email and one WhatsApp message.