Convert an image to 300 DPI with real pixels
Many 300 DPI converters only change a number inside the file, so the design prints no sharper. This one enlarges your design 4x or 8x with AI and saves it as a PNG tagged 300 DPI.
Opening your design…
Your design is already large
Create a free account to upscale
It takes a minute: just your name and email, then one WhatsApp message. Upscaling stays free.
Your design waits here and starts upscaling as soon as you are signed in.
Your sharper design is ready
Free and Pro, zoomed in
See what Pro adds
Real Pro results on textile designs. Drag the line: on the left the low-resolution file, on the right the same spot after Pro.
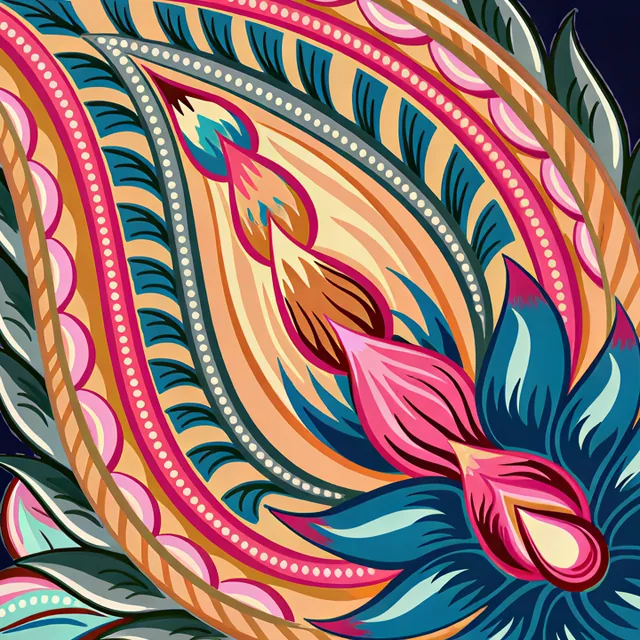
 Low-res filePro
Paisley: dots, ropes and outlines stay crisp
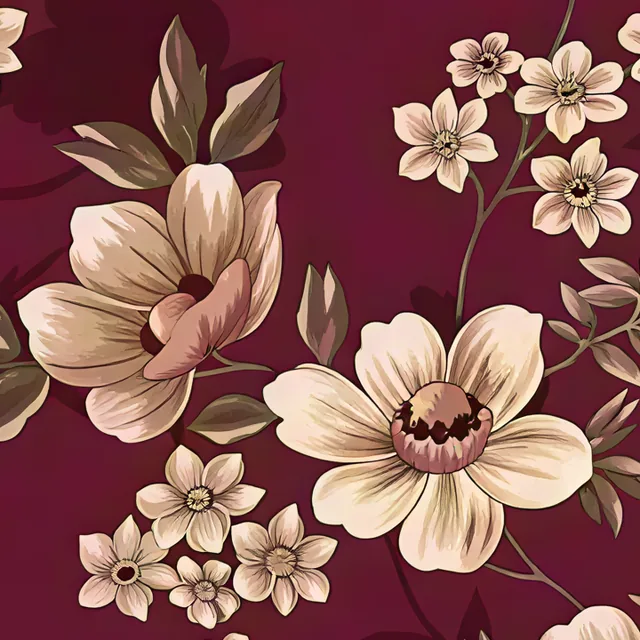
 Low-res filePro
Small florals: clean edges on every bloom

 Low-res filePro
Watercolour floral: petal veins come back sharp
Pro makes 4×, 8× and 16× with finer detail and uses credits. Make a free result first, then choose Pro.
- Drop your design: JPG, PNG, WebP, TIFF or PSD.
- Pick 4x or 8x and tap Run Upscaler.
- Download the PNG, tagged 300 DPI and ready for your printer.
Changing the DPI number vs adding pixels
A digital design is made of pixels. DPI is a note in the file that tells the printer how many of those pixels to put in each inch. If you change that note from 72 to 300, the printer packs the same pixels into a smaller area. No new detail is added.
Take a design of 1200 x 1800 pixels. Tagged 72 DPI, it would print 16.7 x 25 inches and look soft. Relabel it to 300 DPI and it prints sharp, but only 4 x 6 inches, the size of a postcard.
To print the same design 16 x 24 inches at 300 DPI you need 4800 x 7200 pixels (16 x 300 and 24 x 300). That is four times the pixels in each direction, which is exactly what a 4x upscale gives you.
A relabel is enough when your file already has the pixels and the printer only wants to see 300 in the DPI box. If the pixels are short, you need an upscale.
How big your file prints at 300 DPI
Divide the pixels by 300 to get inches, and multiply the inches by 2.54 for centimetres. A file 3000 pixels wide prints 10 inches (25.4 cm) wide at 300 DPI.
Free enlargement goes up to about 36 megapixels of output. A 1500 x 1500 px design at 4x becomes 6000 x 6000 px, which is right at that limit. A design that is already larger can be saved tagged 300 DPI as it is, and 16x is coming soon in Pro.
When 150 or 200 DPI is enough for fabric
300 DPI is the usual standard for paper. Fabric is a weave of threads and cannot hold as much fine detail as coated paper, so many digital textile printers work well from 150 to 200 DPI files. Large pieces seen from a distance, such as curtains and bedsheets, need the least.
Lower DPI also keeps files smaller. One metre of 58 inch fabric is 8700 x 5906 px at 150 DPI and 17,400 x 11,811 px at 300 DPI, four times the pixels. Work out your own sizes with the Fabric DPI calculator.
- Digital (inkjet) printing on cotton, rayon or polyester: 150 to 300 DPI. Go to 300 for fine lines and small motifs.
- Sublimation: 200 to 300 DPI.
- Bedsheets, curtains and other large home textiles: 150 DPI is usually fine.
- Your printer's spec comes first. If they ask for 300 DPI, send 300.
Why 4x or 8x AI enlargement beats bicubic
When you enlarge in Photoshop with Image Size and bicubic resampling, each new pixel is an average of its neighbours. Edges go soft and small motifs lose their shape.
AI enlargement draws sharper edges and adds fine detail that bicubic smooths away. On a textile design, the outline of a butta stays crisp and thin lines stay thin.
Use 8x for very small files, such as a design saved from WhatsApp, and 4x for most others. No upscaler can bring back detail that was never in the file, so check the result before you send it for a strike-off.
| Your image (px) | Prints at 300 DPI | After 4x (px) | Prints at 300 DPI after 4x |
|---|---|---|---|
| 800 x 800 | 2.7 x 2.7 in (6.8 x 6.8 cm) | 3200 x 3200 | 10.7 x 10.7 in (27.1 x 27.1 cm) |
| 1000 x 1500 | 3.3 x 5 in (8.5 x 12.7 cm) | 4000 x 6000 | 13.3 x 20 in (33.9 x 50.8 cm) |
| 1200 x 1800 | 4 x 6 in (10.2 x 15.2 cm) | 4800 x 7200 | 16 x 24 in (40.6 x 61 cm) |
| 1500 x 1500 | 5 x 5 in (12.7 x 12.7 cm) | 6000 x 6000 | 20 x 20 in (50.8 x 50.8 cm) |
Get your design ready to print
Drop your design in the upscaler above, pick 4x or 8x and download a PNG tagged 300 DPI.
Open the Image UpscalerQuestions people ask
How do I convert an image to 300 DPI for free?
Drop your design into the upscaler on this page, pick 4x or 8x and download the result. You get a PNG tagged 300 DPI with four or eight times the pixels in each direction, so it prints larger and sharper.
Does changing the DPI improve print quality?
Changing only the DPI number does not. The file keeps the same pixels, so it prints smaller at 300 DPI with the same detail. To print bigger and sharp, you need more pixels, which an upscale gives you.
How many pixels do I need for 300 DPI?
Multiply each side in inches by 300. A 16 x 16 inch cushion needs 4800 x 4800 px and an A3 sheet needs 3508 x 4961 px. For metres or centimetres, use the Fabric DPI calculator.
Do I need an account?
You can try the three samples without one. For your own designs you need a free account: your name, your email and one WhatsApp message.
My printer wants a TIFF. What do I do?
Open the PNG in Photoshop or a similar program and save it as a TIFF with LZW compression. LZW keeps every pixel, and the 300 DPI setting stays in the file.